
Quick Answer
In 0.5 the AI investigates noise, moves to new cover when you flank it, and comes out to hunt you if you hide too long, so win fights by choosing them. Scout before you shoot, open fire only from cover with stamina left to retreat, use a suppressor so each shot gives away less, and remember that bushes hide you but do not stop bullets. Light wounds heal by themselves after 60 seconds; treat everything else straight away.
How do you scout and choose which fights to take?
Scout first, fight from cover, and keep stamina for retreat. Spotting one enemy is a reason to check the surrounding area, not a reason to fire immediately.
Look beyond the first target
Observe the position before approaching. Check for additional enemies out of view rather than assuming the first target is alone. When you hear gunfire, pause and assess the situation before joining the fight.
Choose your approach before firing
Plan how to reach a protected firing position. Avoid opening an optional fight from a weak position just because you have spotted an enemy. You can take time over the approach; once you fire, you have committed to an engagement.
Keep enough stamina to leave
Avoid spending your entire stamina reserve on the approach. Move between cover and preserve enough stamina to retreat if the fight develops badly. Reaching an enemy quickly gives you little benefit if you arrive exposed and unable to get away.
Which Gray Zone Warfare AI tips help you stay undetected?
Move slowly, stay low, and use darkness and dense vegetation to reduce the distance at which AI can spot you. Detection depends on several factors together, so a single fixed distance is a poor basis for choosing a safe approach.
| Factor | Visibility effect |
|---|---|
| Dense vegetation | Reduced detection chance |
| Darkness | Better concealment |
| Rain and fog | Reduced visibility distance |
| Lower stance | Harder to detect |
| Faster movement | Increased visibility |
| Weapon fire | Temporary visibility increase |
| Suppressor | Smaller firing visibility increase |
Use these factors together while approaching. Moving quickly through an exposed area increases visibility; lowering your stance and slowing down helps you remain less conspicuous. A suppressor reduces the visibility increase caused by firing, but it does not make firing consequence free.
Alerted AI investigate noises and monitor distant enemies. Once shot at, they switch to combat. Keep sound discipline as part of your approach rather than treating a suppressed weapon as permission to fire whenever you see movement.
Concealment is not bullet protection. Bushes can make you harder to detect, but hiding in them does not give you cover from incoming fire.
How do you use cover and disengage from AI?
Use cover that protects your body, minimize exposure, and preserve a route away from the position. AI can pursue a fight beyond your last visible exchange, so disappearing behind cover is only part of disengaging.
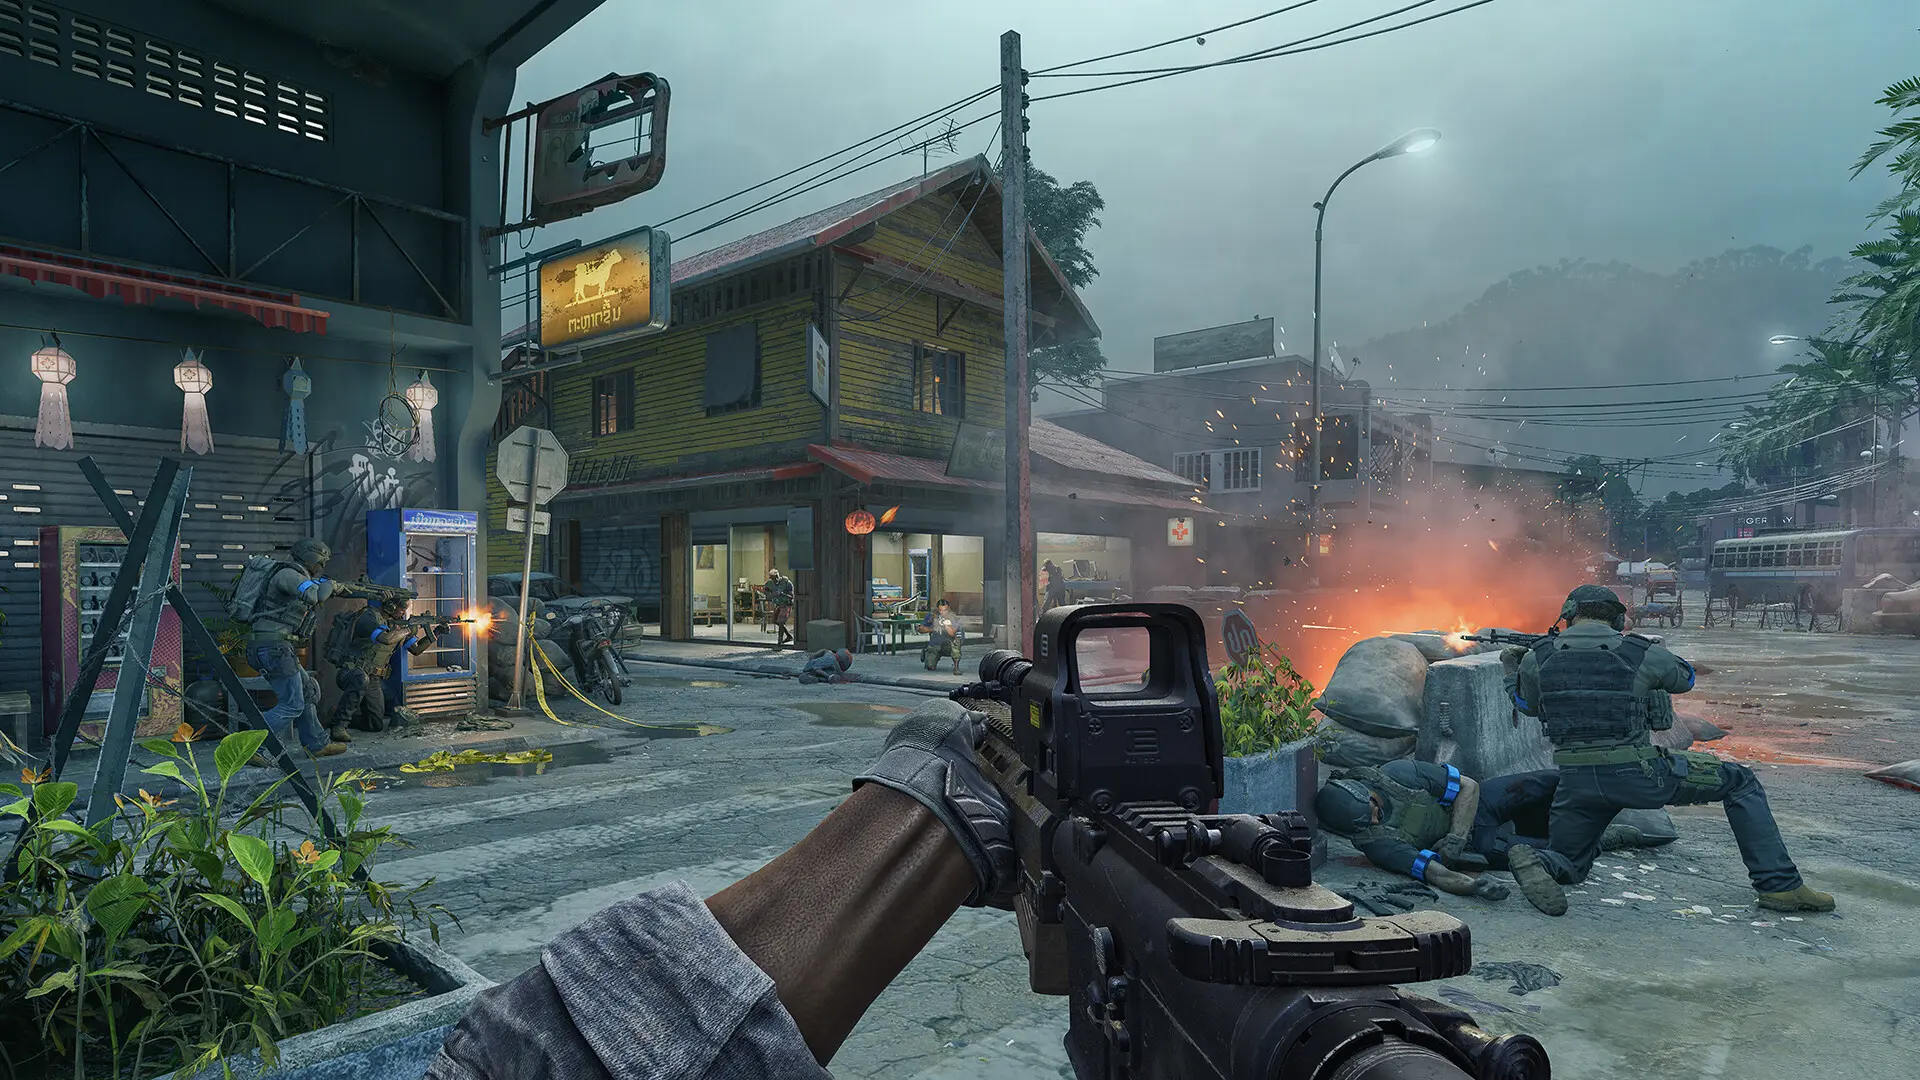
AI acquire targets quickly and lose them slowly. Their movement changes with their weapons and distance: they can advance, hold distance, sidestep, or take cover. Do not plan around every enemy making the same approach.
If you flank an AI's cover, it can move to another position and temporarily avoid the old one. Keep watching the surrounding area rather than holding your aim on the place where it previously appeared. An injured enemy can also continue fighting while you are nearby and wait until it is safe to heal.
Remaining hidden does not make the encounter stand still. AI eventually leave cover to search, with more experienced soldiers moving sooner. They take separate routes rather than moving together as one group. Watch for approaches from more than one direction while deciding whether to remain or withdraw.
Some AI factions use grenades to force you out of cover. A protected firing position still needs a way out; staying there indefinitely can leave you with fewer options when the attack changes.
How do ammunition and injuries affect your shooting?
Account for ammunition wound effects and your arm injuries before committing to another exchange. Severe arm injuries cause tremors, and arm injuries reduce maximum arm stamina, so your condition matters alongside the weapon you brought.
| Ammunition | Wound size |
|---|---|
| Soft-point (SP) | Larger than FMJ and AP |
| Hollow-point (HP) | Larger than FMJ and AP |
| Full metal jacket (FMJ) | Smaller than SP and HP |
| Armor-piercing (AP) | Smaller than SP and HP |
Wound size alone does not make SP or HP the best choice for every armored target. Do not turn that comparison into a promise that a particular hit will end the fight.
Check your condition when shooting becomes difficult. Treating an injured arm addresses a different problem from changing your ammunition or weapon setup. Stopping bleeding also does not remove pain if the injured limb remains untreated.
Lowering your stance helps concealment against AI. That visibility benefit is separate from recoil control. For equipment choices, continue to the Gray Zone Warfare best loadout page.
Which Gray Zone Warfare PvP tips help you survive enemy-player encounters?
Apply reconnaissance, protected positioning, and stamina management before committing to a player encounter. Seeing a target does not tell you that you have found everyone involved in the fight.
Check the wider position before firing. If reaching a firing angle requires an exposed approach, reconsider the engagement rather than spending all your stamina getting there. The same preparation that protects you against AI gives you more options when another player appears.
Keep the difference between concealment and cover clear. A bush can hide your position without protecting your body. Choose where to fight based on both what you can see and how much of yourself you must expose to shoot.
When alone, make the decision before the first shot: can you approach from cover, have you checked for additional enemies, and do you retain stamina to leave? If those conditions are poor, avoid starting an optional fight from that position. Your objective does not require taking every engagement you notice.
How do you manage injuries without losing combat readiness?
Treat the affected body parts and account for how injuries limit your ability to aim or escape. Arm injuries reduce maximum arm stamina, while leg injuries reduce maximum body stamina.
Healing is handled by body part rather than by each individual wound. One splint treats multiple fractures in the same leg; fractures in both legs require two splints, one for each leg. Surgical kits can treat fractures, organ damage, and bleeding. Higher-quality medical supplies provide faster treatment and more uses, with military supplies generally more effective than civilian alternatives.
Light wounds disappear after 60 seconds. That rule applies to light wounds, so do not use it as a reason to ignore a different injury or an untreated limb.
For bleeding, hemostats and tourniquets stop bleeding from every body part, but tourniquets cannot be applied to the head or torso. Bandages can treat multiple injured body parts in one use.
AI search for players in a coma and attempt to finish them off. A downed teammate remains under threat, making positioning and team support important. For what follows a fatal encounter, see death and gear recovery.
For your next engagement, take these positioning habits into Gray Zone Warfare sniping if you want to fight at longer range.
FAQ
Combine a low stance and slow movement with darkness or dense vegetation. Rain and fog also reduce AI visibility distance, while moving faster and firing increase your visibility.
Suppressors lessen the temporary visibility increase from firing; they do not make you invisible. Alerted AI also investigate noises, so keep your approach deliberate.
Check for additional enemies, choose a protected firing position, and retain stamina to withdraw. Avoid committing to an optional engagement when the approach leaves you exposed.
Cover does not guarantee that AI will stop pursuing the encounter. They can search along separate routes, and some factions throw grenades to force you to move.
SP and HP ammunition produce larger wounds than FMJ and AP ammunition. That comparison alone does not establish the best round for every armored opponent.
Arm damage lowers maximum arm stamina, and severe arm damage triggers tremors. Bleeding control alone also leaves pain in place when the limb still needs treatment.